How to Use The Cast Iron Stuffed Waffle Iron
Thank you for your interest in The Cast Iron Stuffed Waffle Iron. This is the cast iron model of the stovetop waffle maker that lets you create your favorite stuffed waffles in four easy steps. Before we begin, my lawyers told me that I need to have you review some important safety information:
IMPORTANT SAFETY INFORMATION
- Please read all instructions before using The Stuffed Waffle Iron.
- Do not touch hot surfaces with bare hands. Use handles or heat-resistant gloves.
- Adult supervision is necessary when used by or near children.
- Use of this device in any manner other than its intended purpose may result in malfunction or injury. (In other words, use this as a tennis racket at your own risk.)
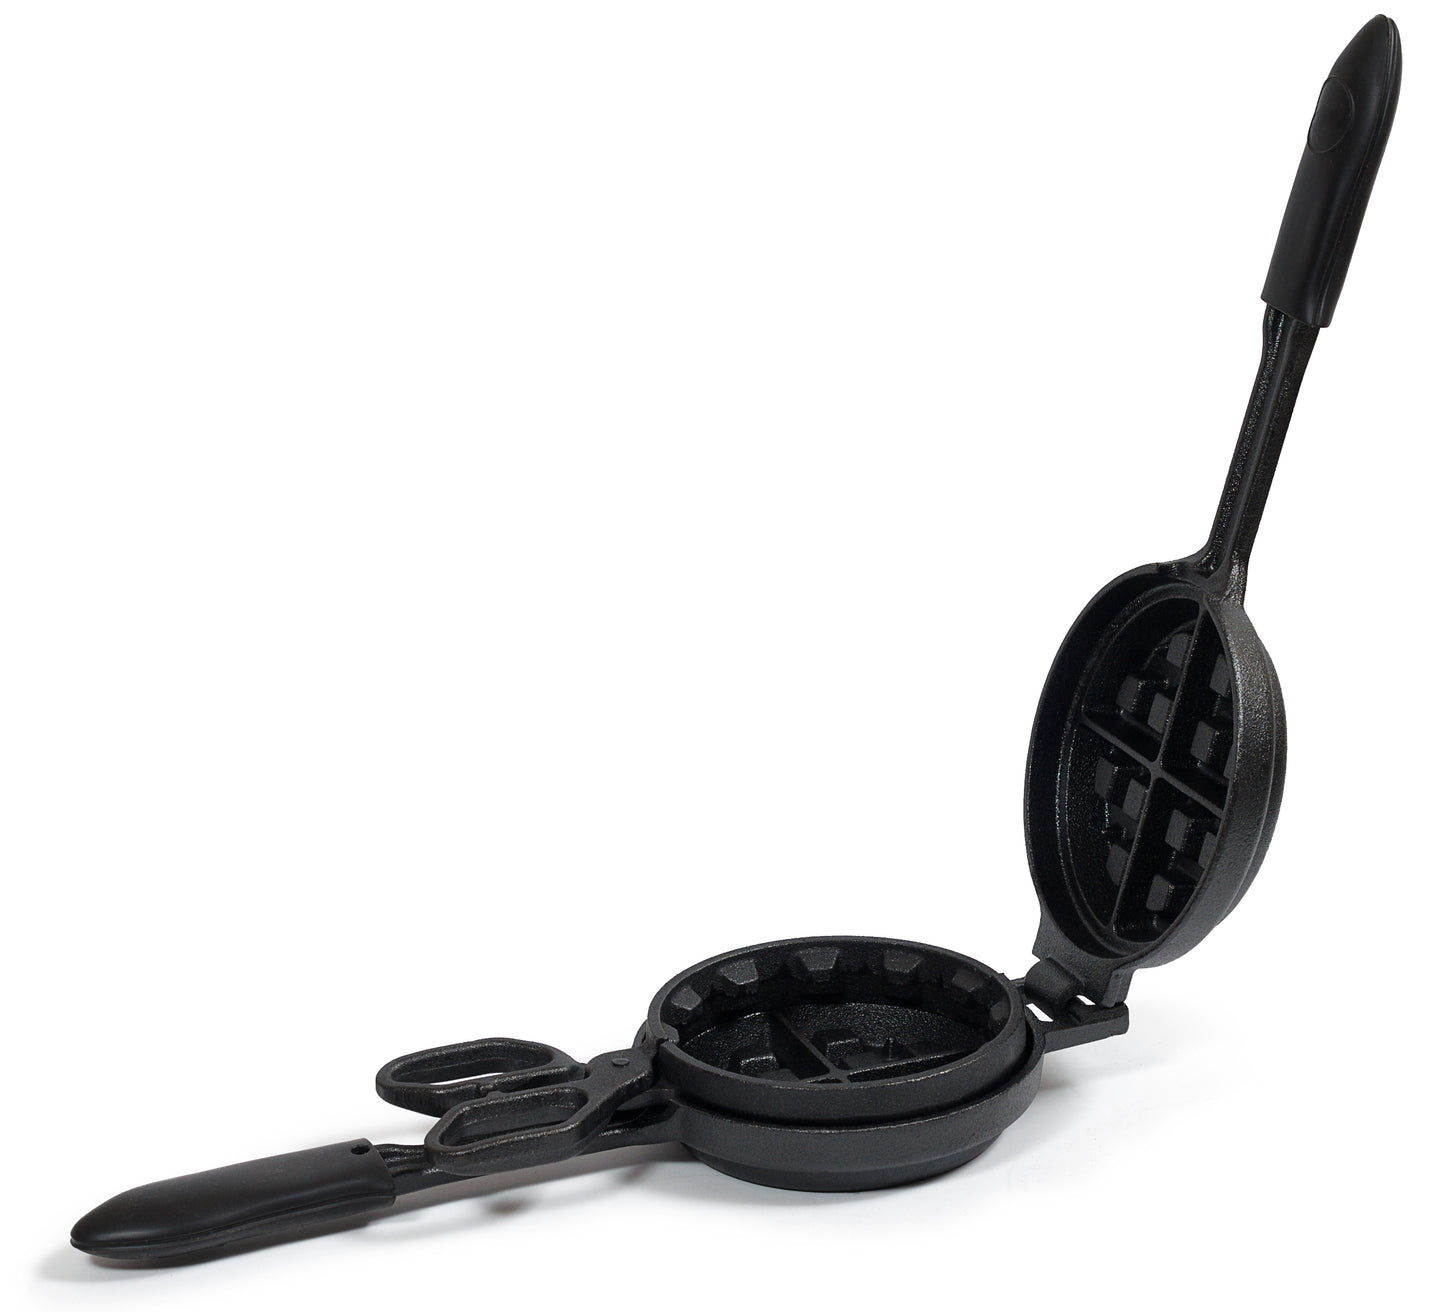
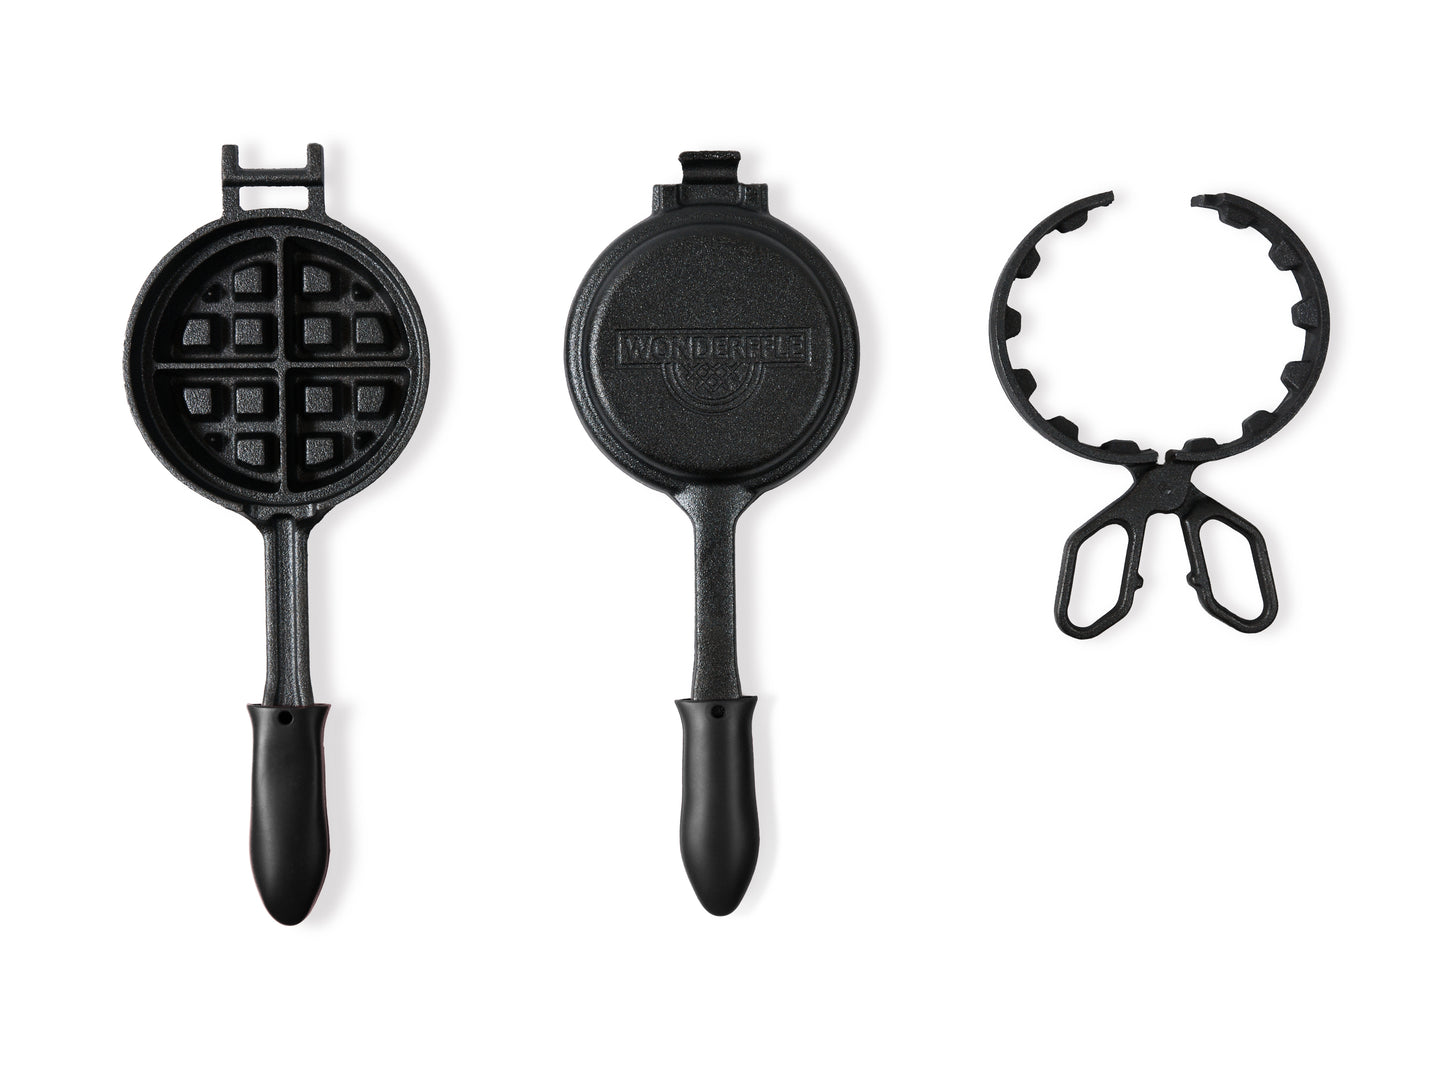
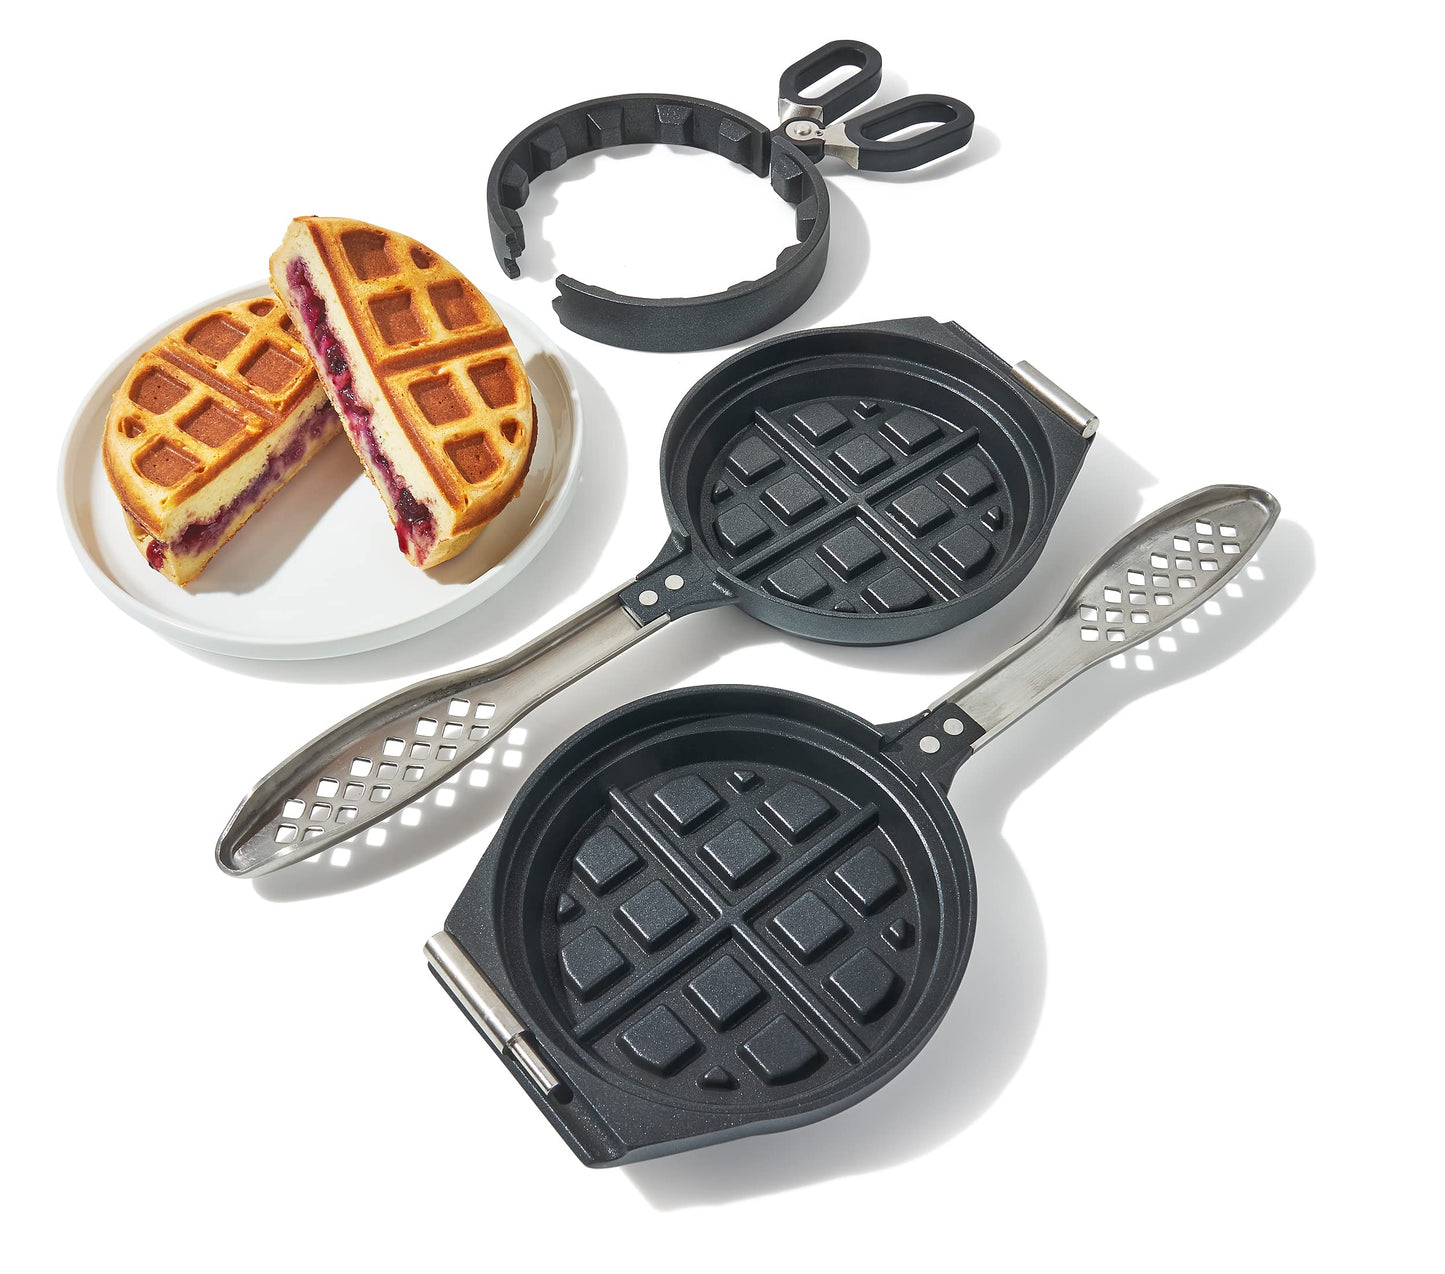
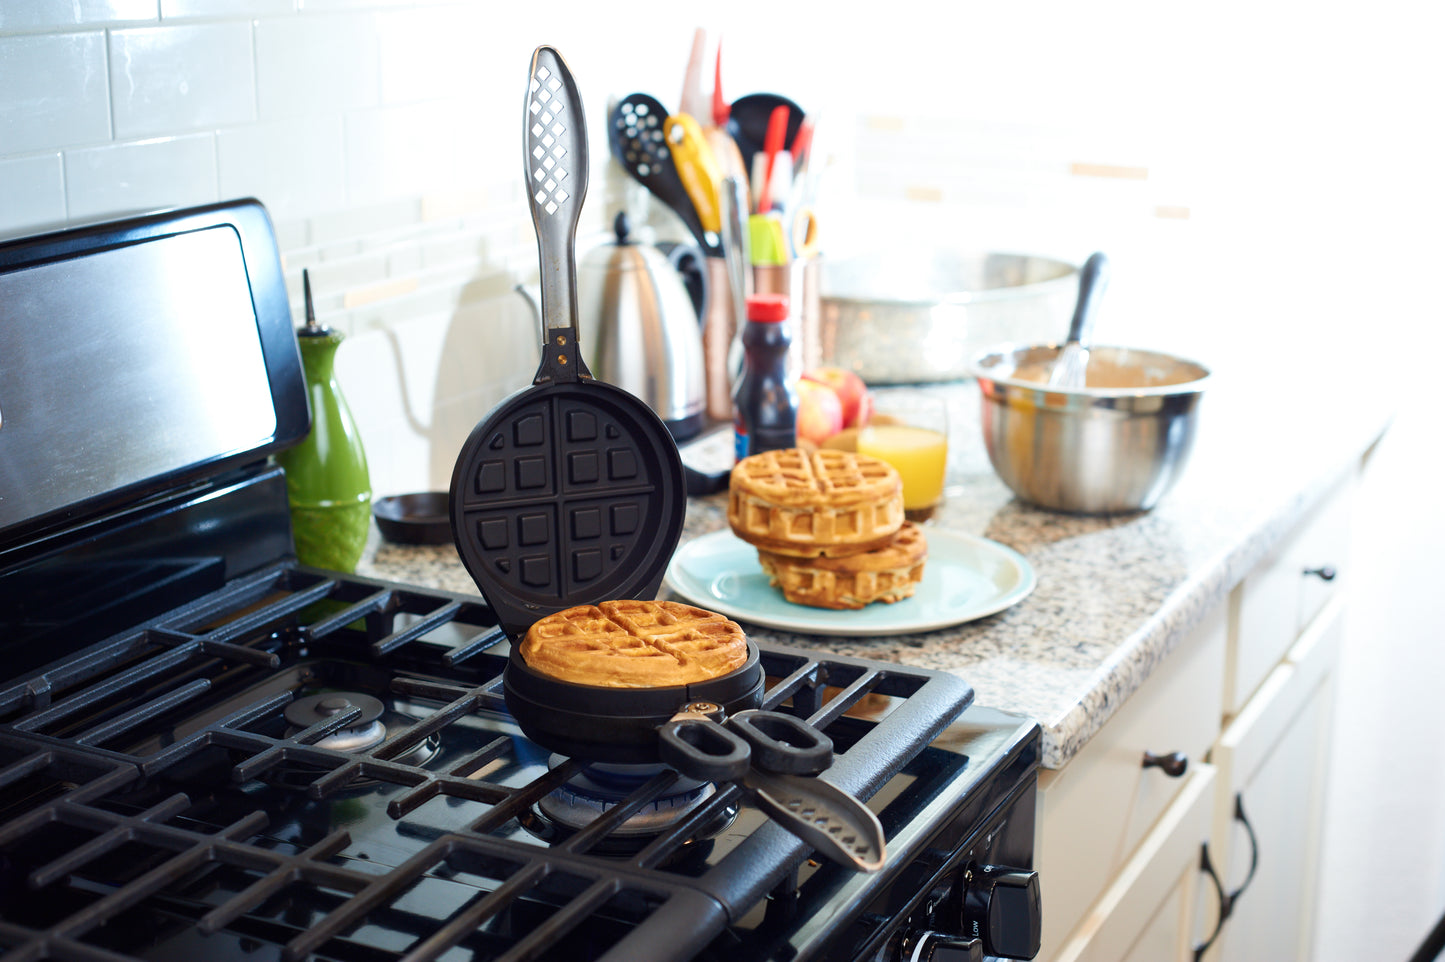
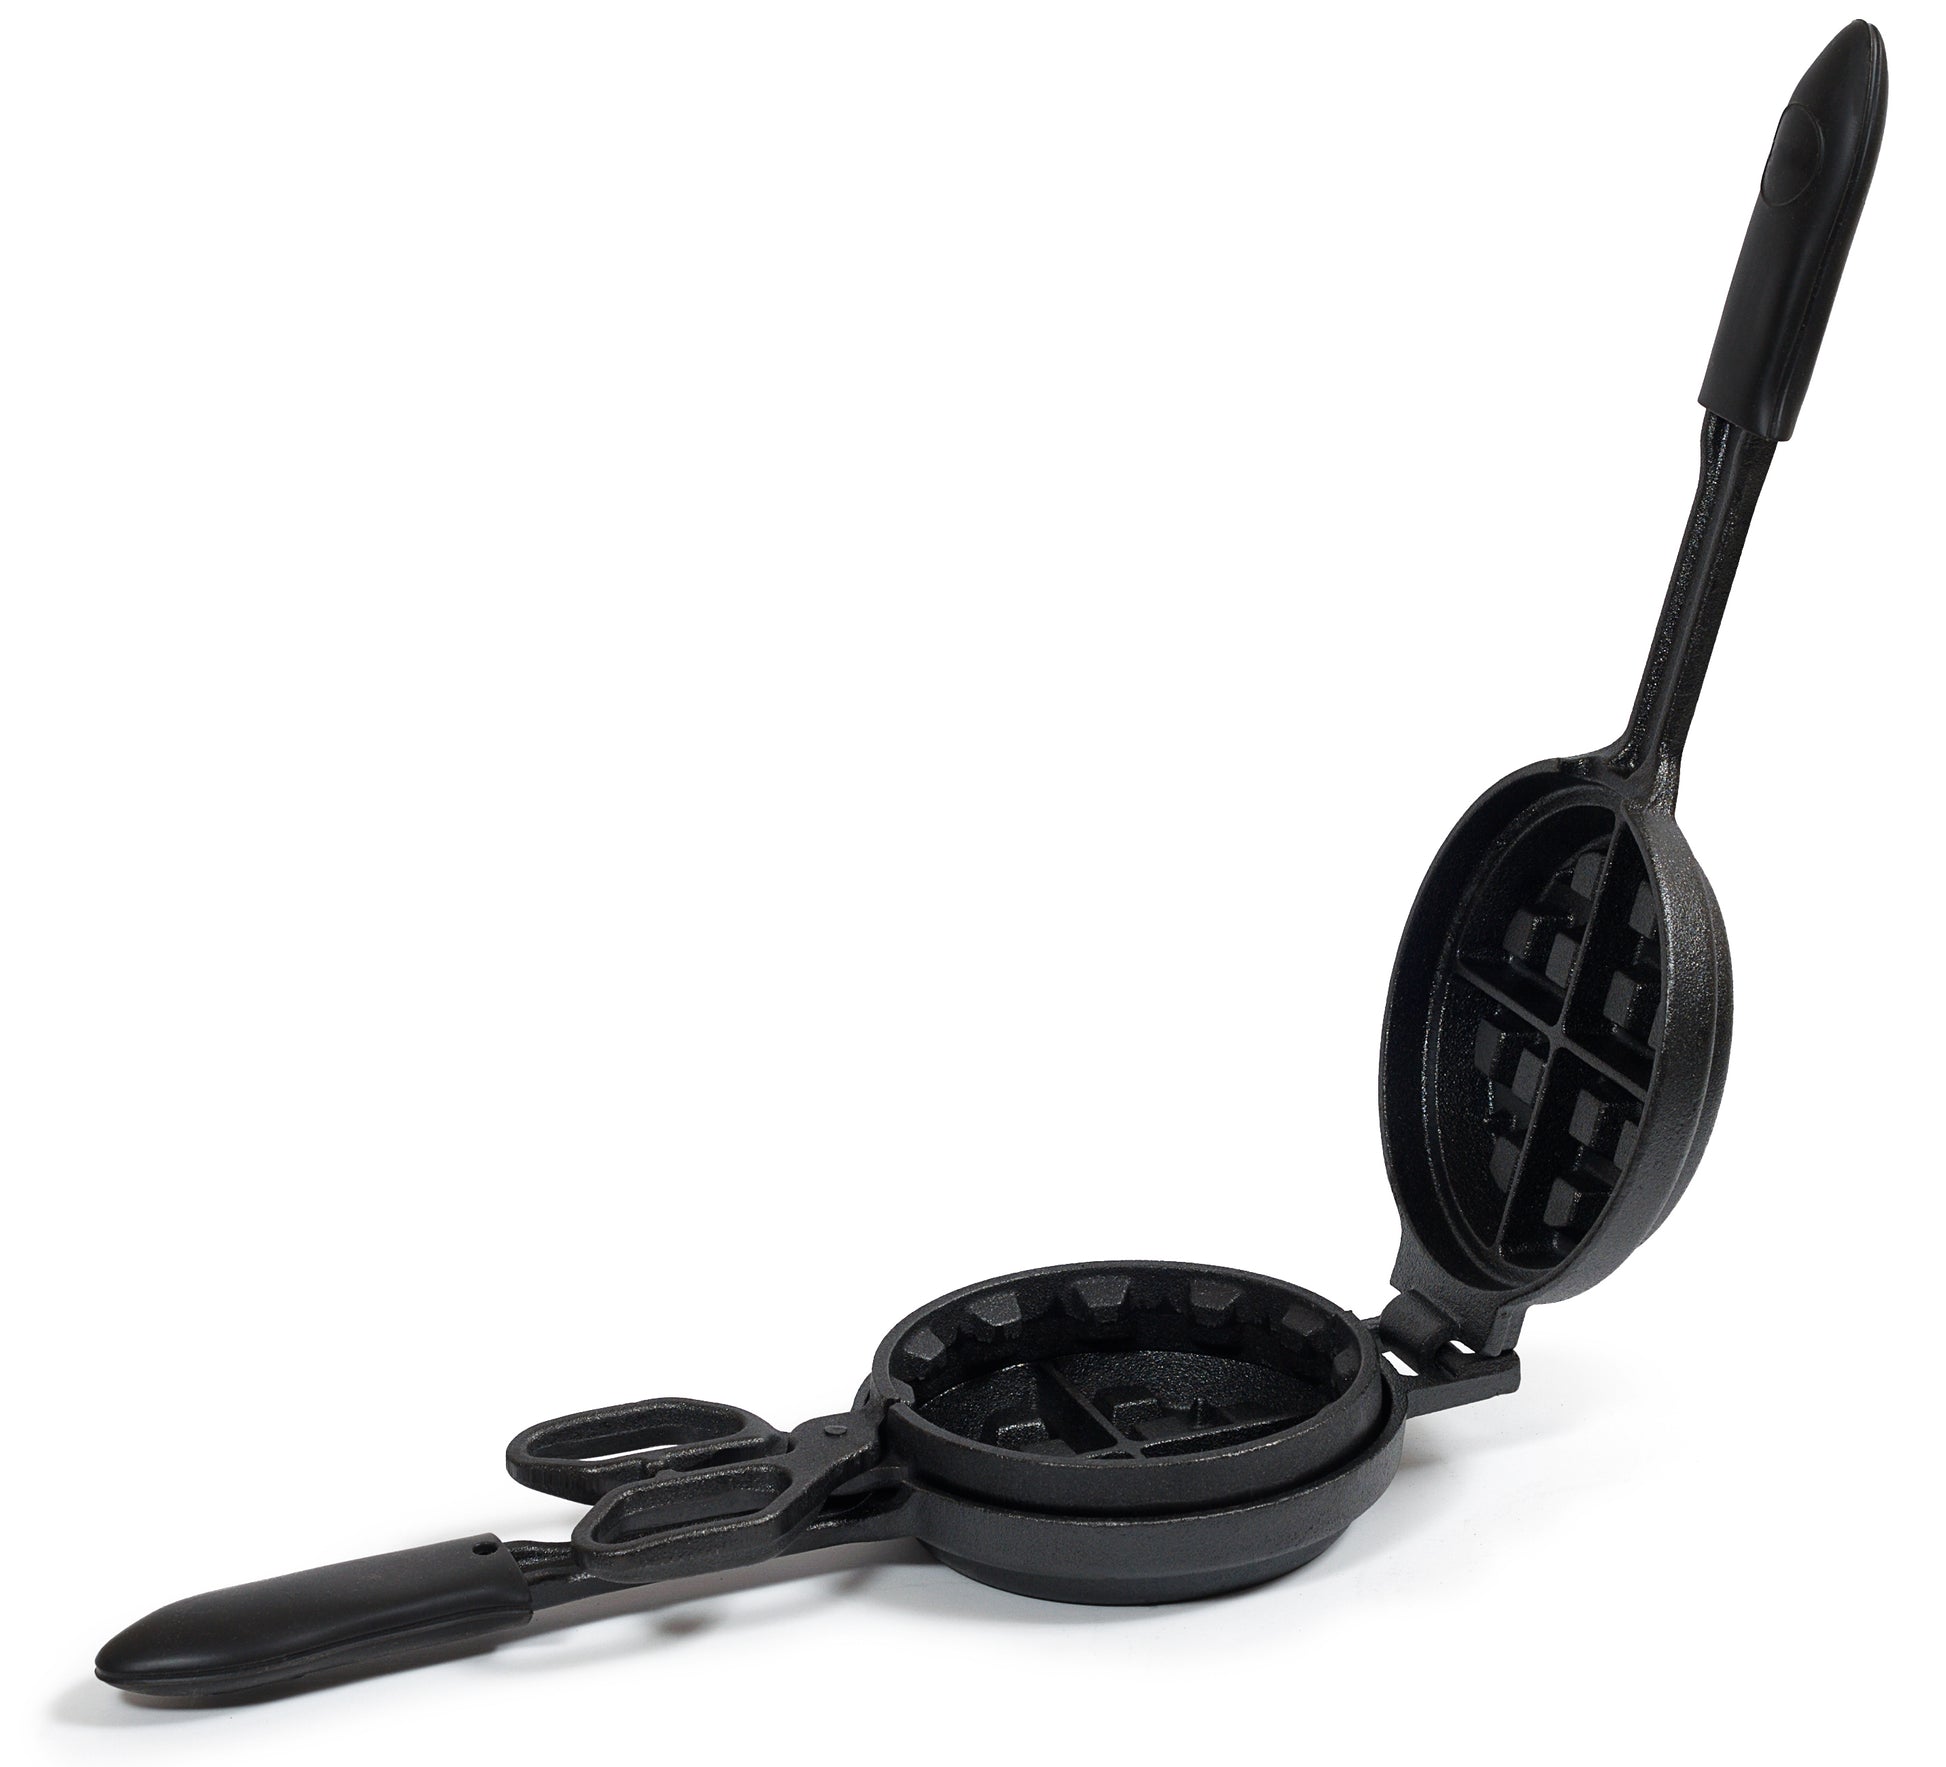
THE LAY OF THE LAND
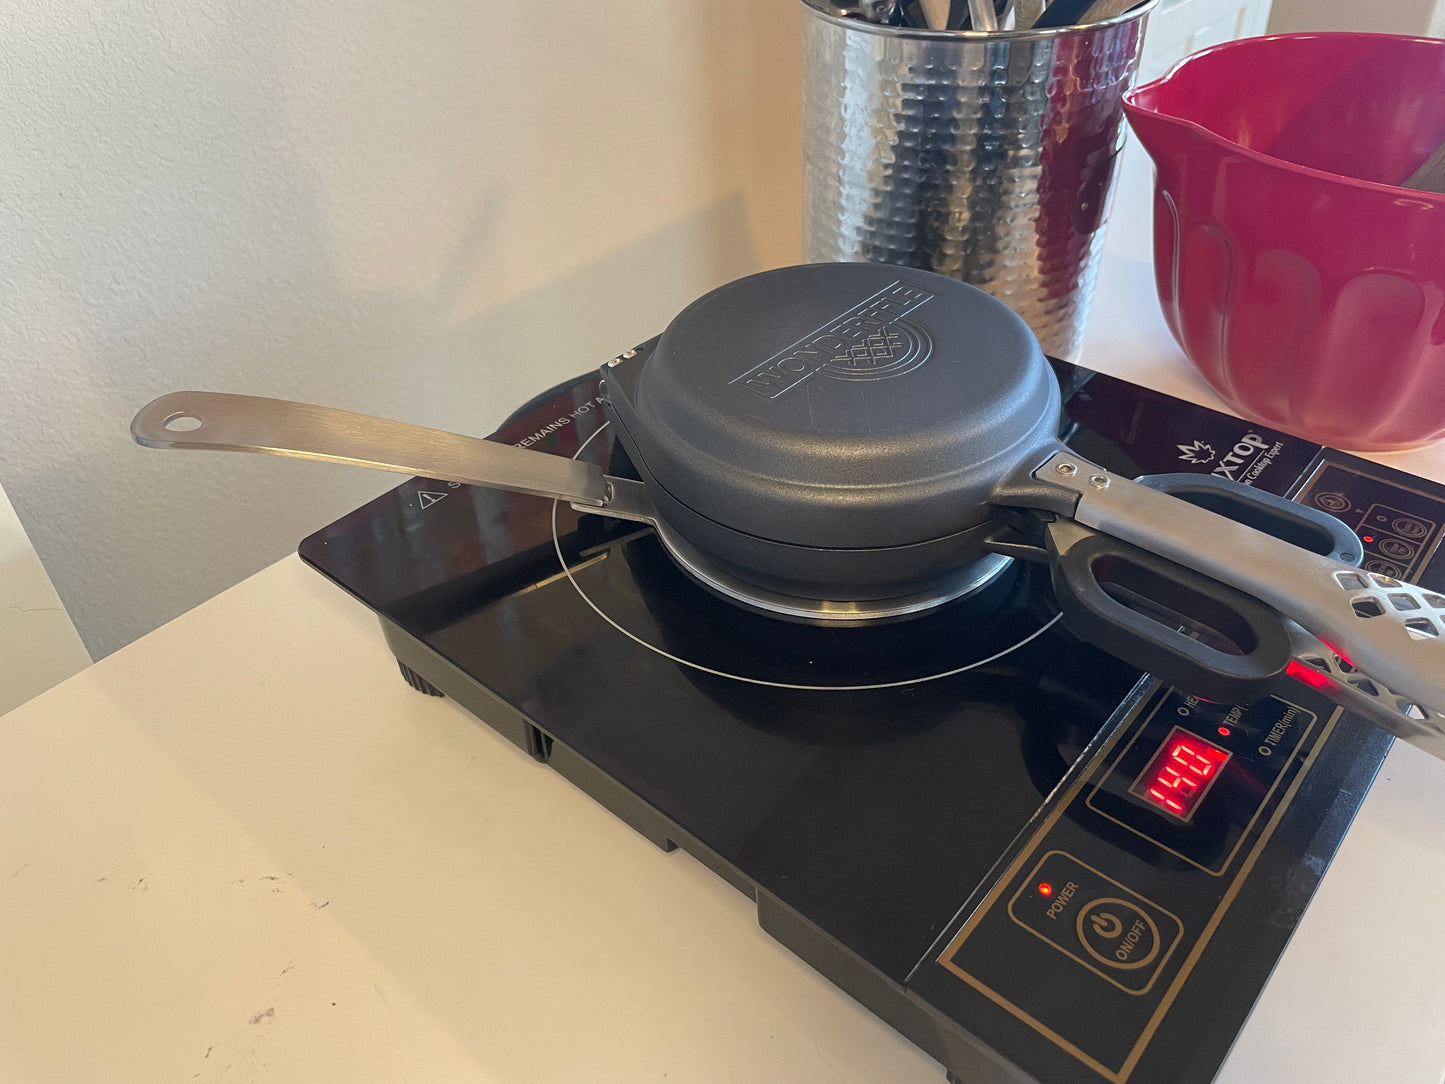
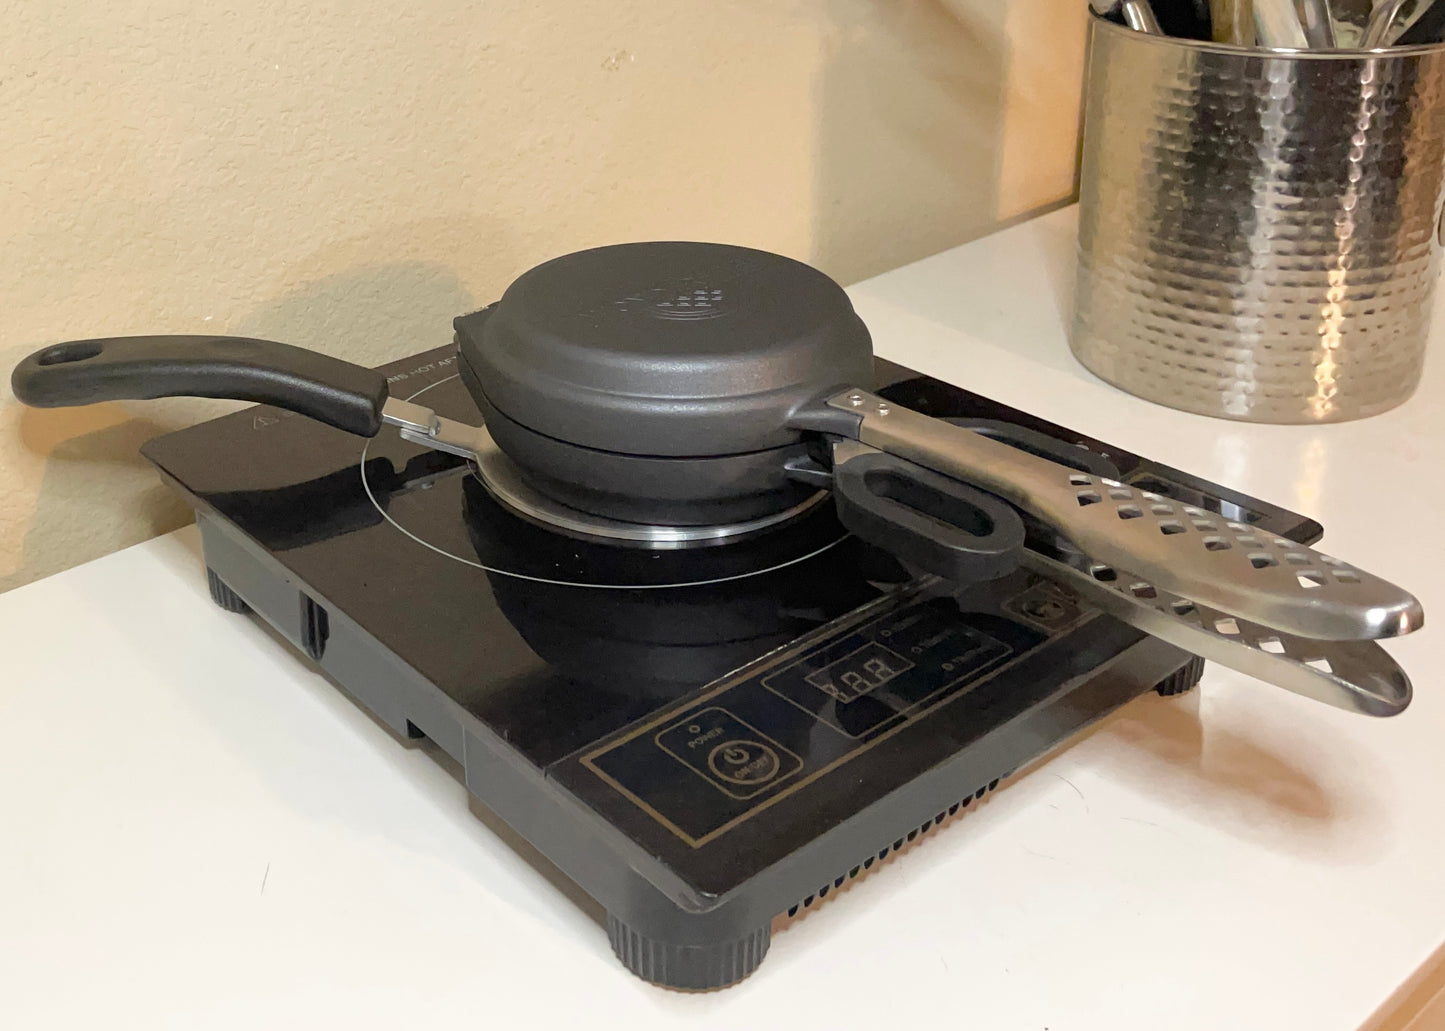
Before first use, take a moment to get acquainted with the components of The Cast Iron Stuffed Waffle Iron (Fig. A).

Now with all that is out of the way, let's get stuffin!
STEP 1: PREP
Prepare batter according to recipe instructions. Fully cook filling if required as the unit interior may not reach temperatures required to completely cook all fillings.
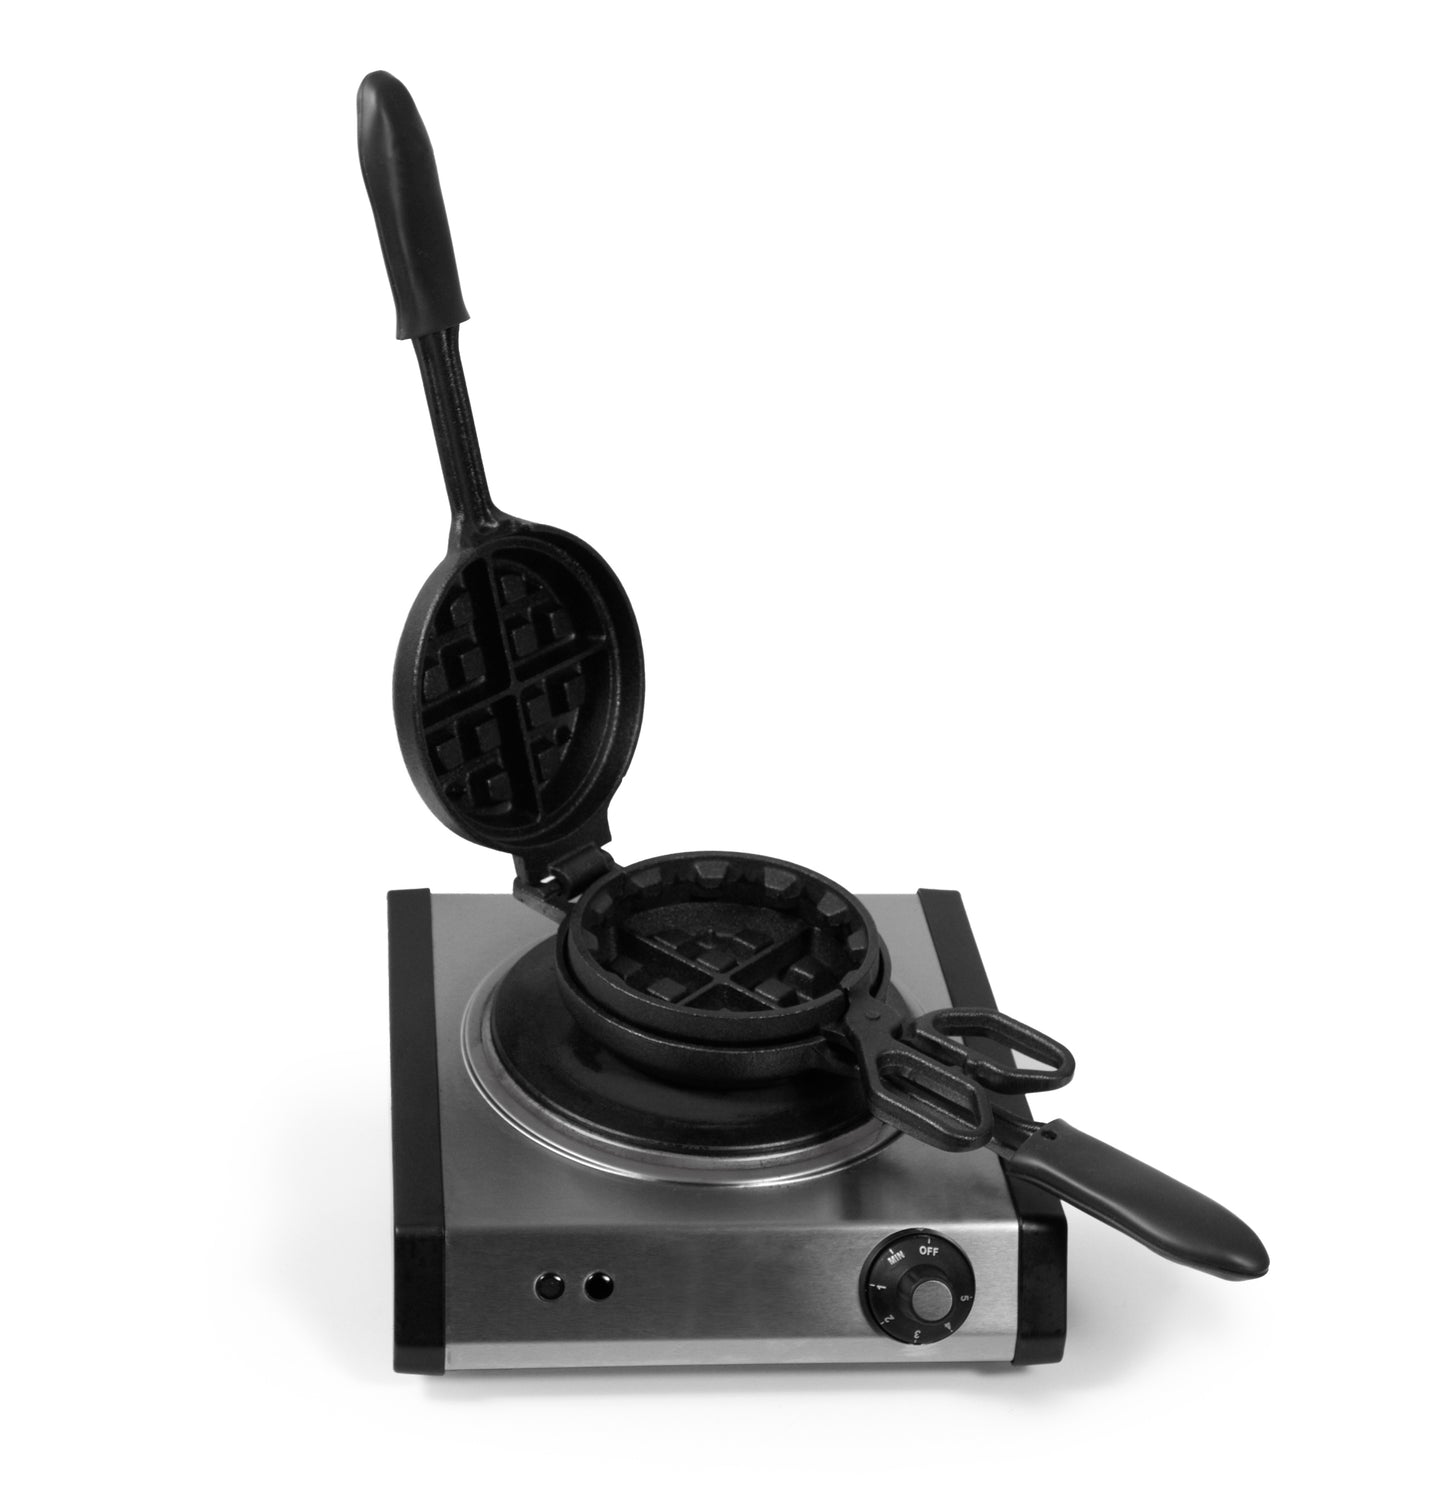
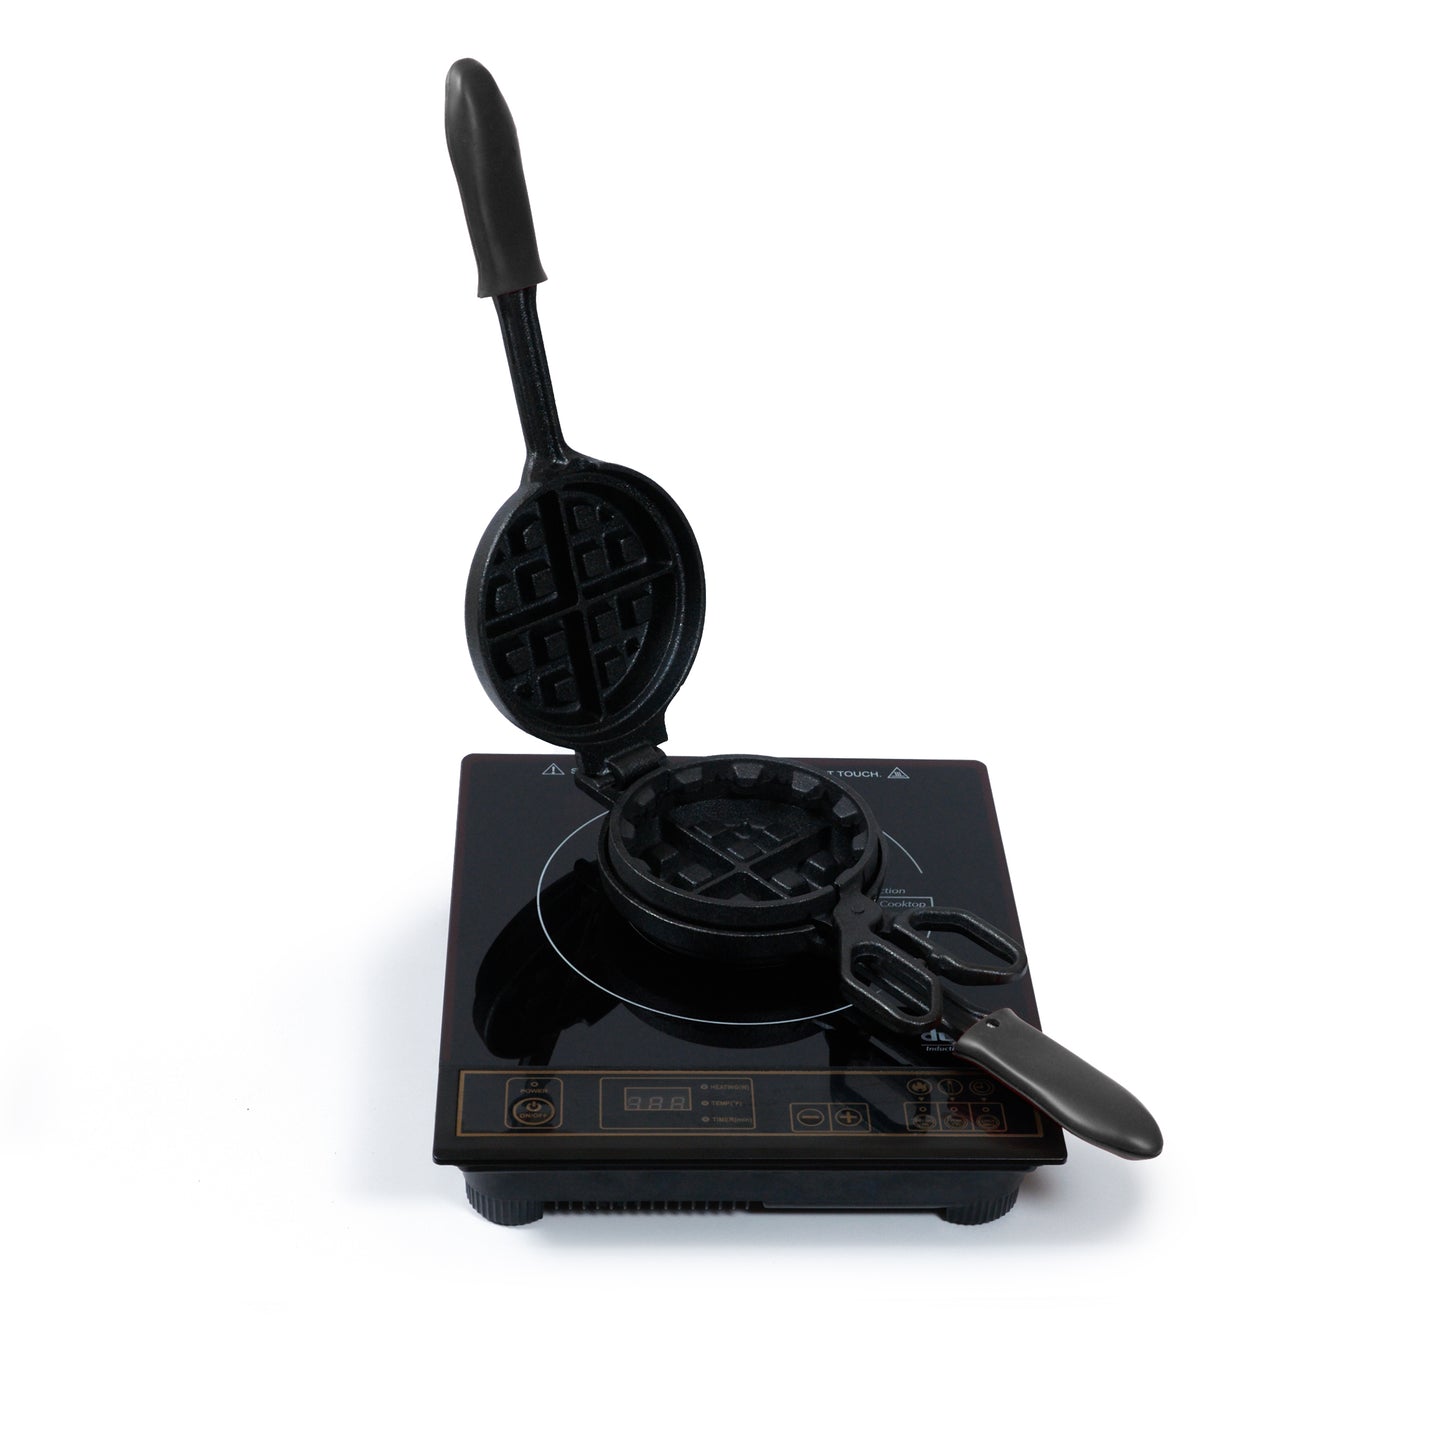
Cast iron cooks better when heated gradually. Place the closed unit on the stovetop or other cooking surface and slowly preheat on low (about 10 minutes per side). Alternatively, preheat each pan separately with the center pan resting on the bottom pan.
The unit is ready when water flicked on the waffle grids quickly sizzles and evaporates.
STEP 2: FILL
Remove from heat and grease the bottom pan.
Pour enough batter into the bottom pan to completely cover the waffle grids, about 1⁄3 to 1⁄2 cup. The amount of waffle batter needed may vary based on the recipe or brand of batter mix.
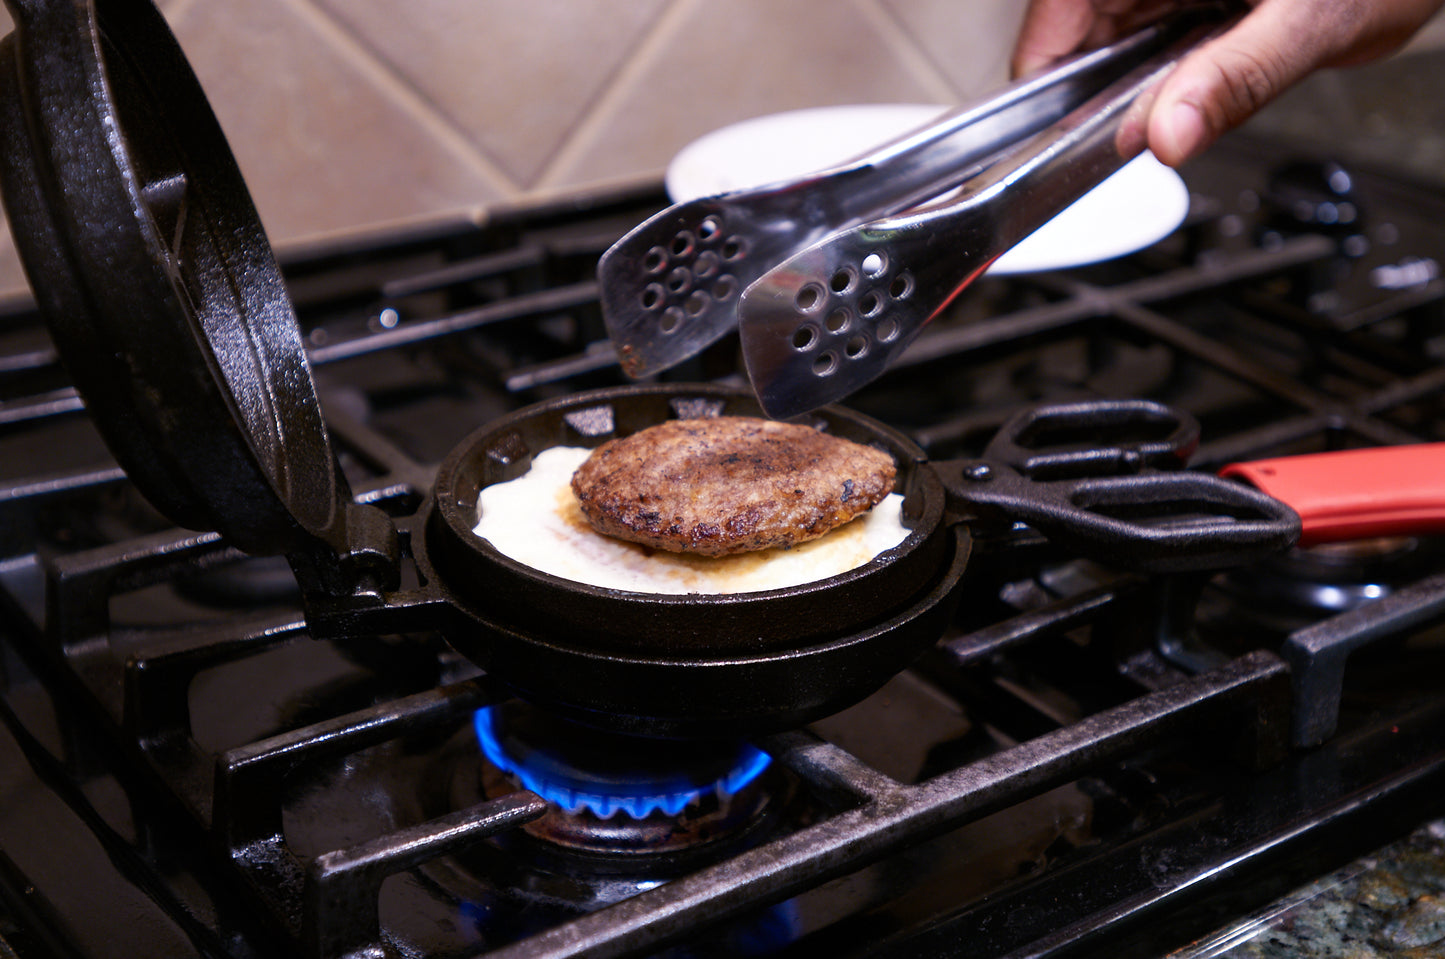
Add filling onto the batter. Avoid allowing the filling to
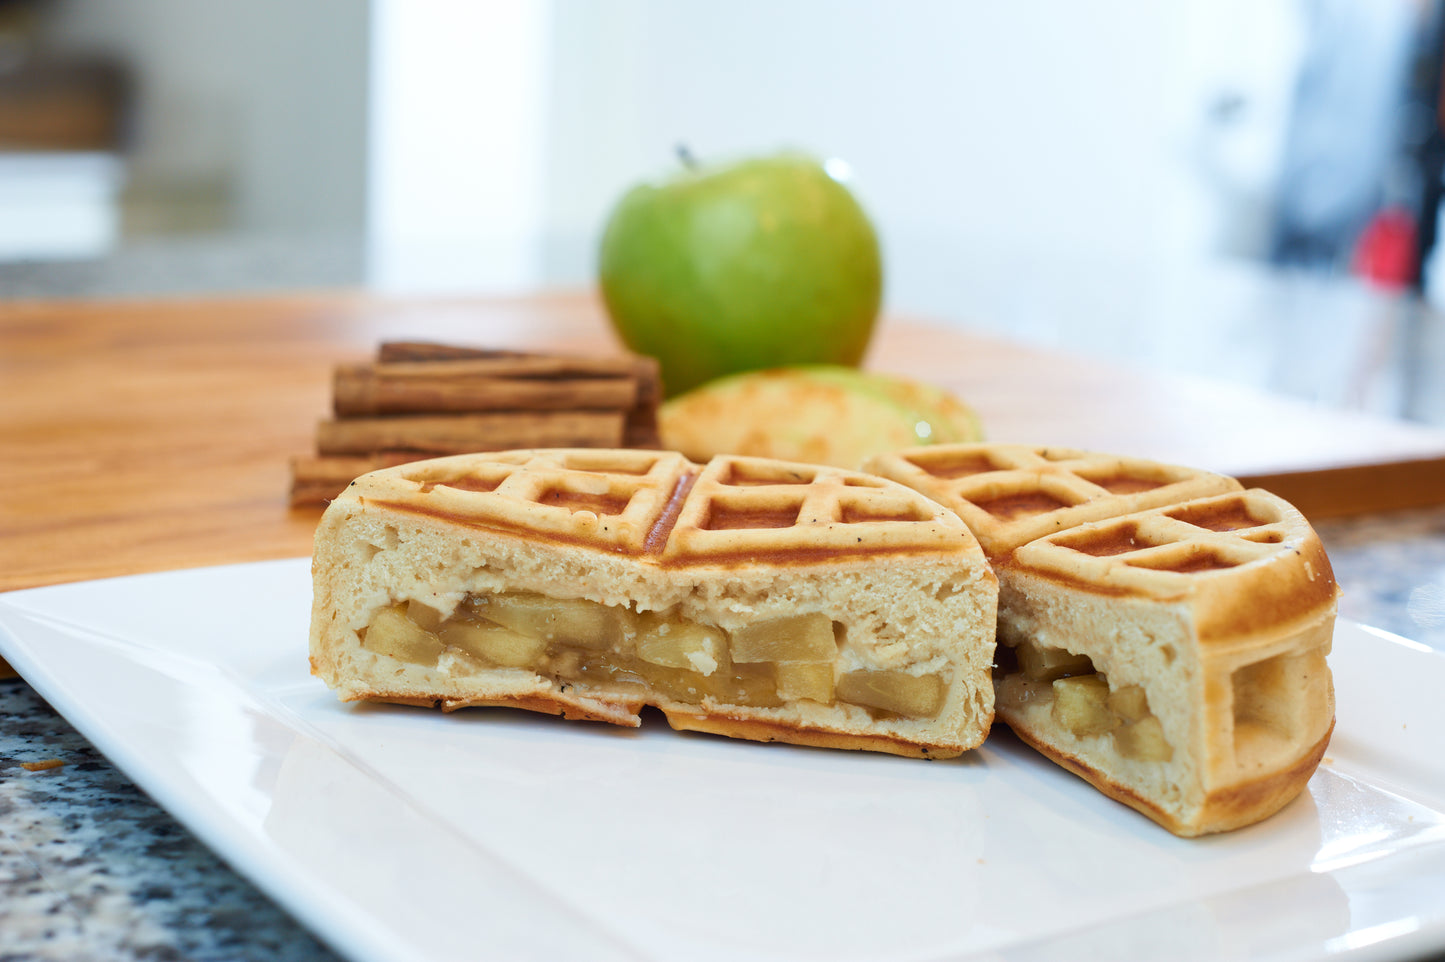
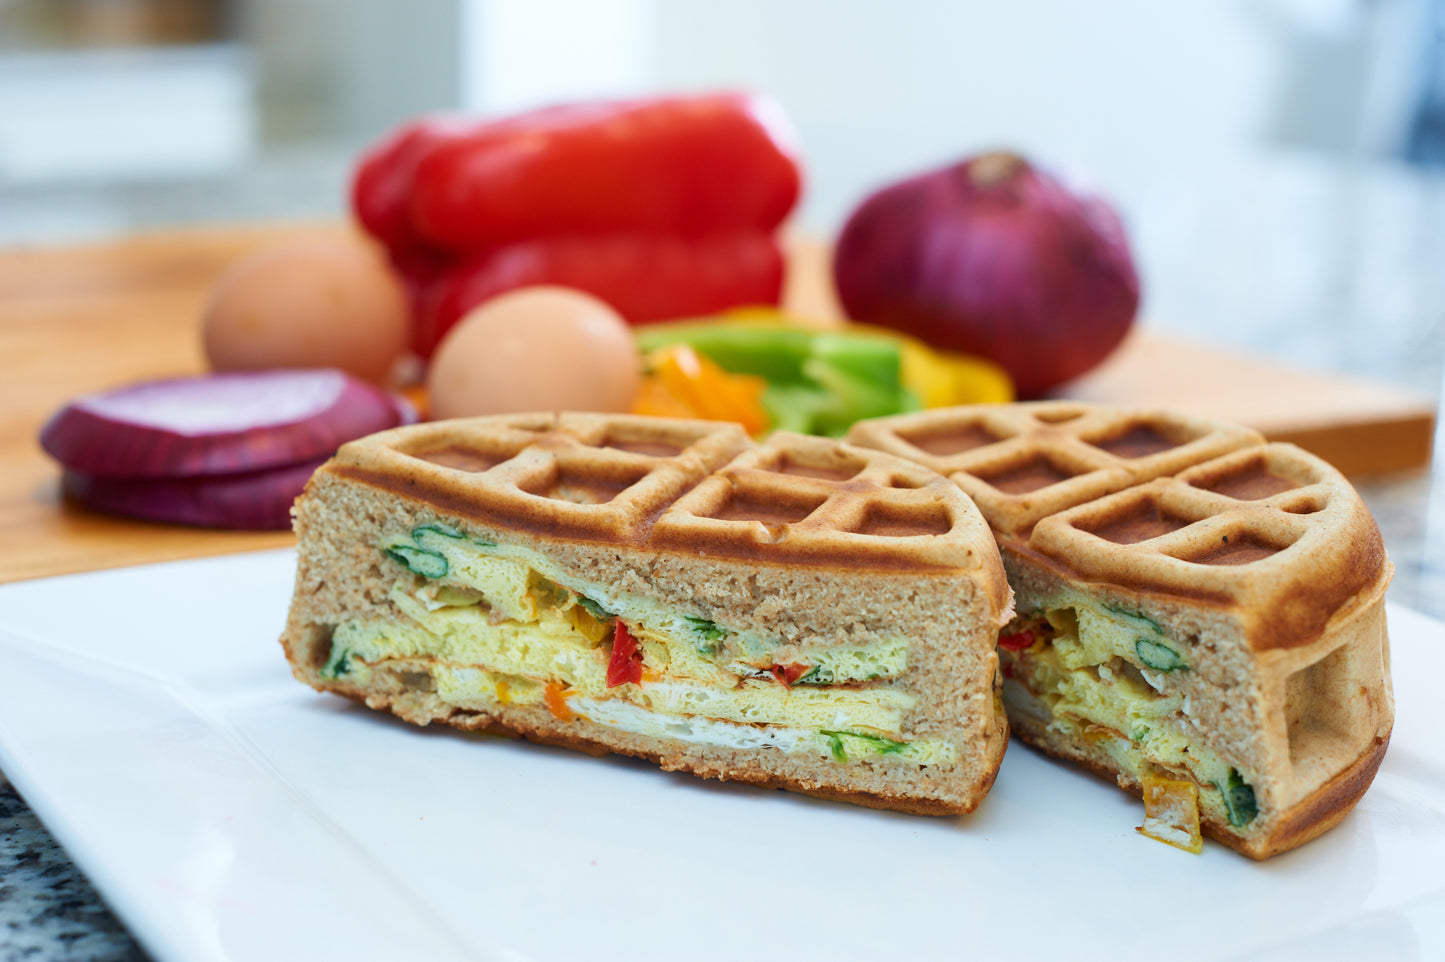
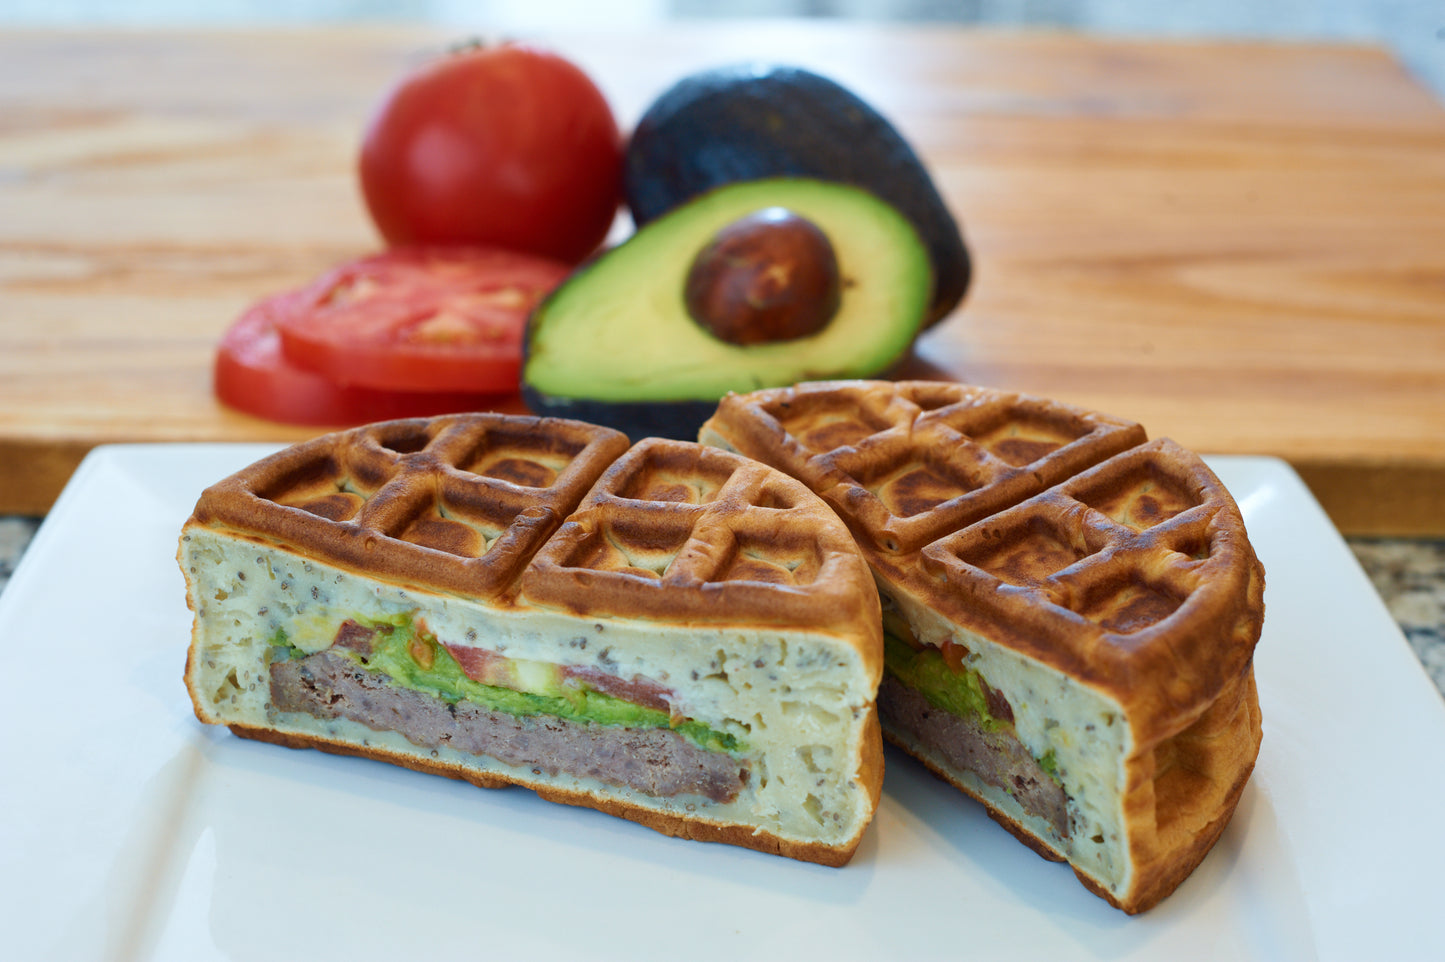
touch the waffle grids along the center pan. The Stuffed Waffle Iron has a capacity to enclose a filling up to a volume of approximately 16 cubic inches, or about 1 US cup.
Cover with enough additional batter to fill up to the top rim of the center pan. Grease the top pan and then close the unit.
STEP 3: COOK
Flip the unit to the opposite side. This allows for the batter to be distributed evenly inside.
Cook on medium low for 6 minutes per side. Cooking times and temperatures may vary depending on cooking surface or ingredients.
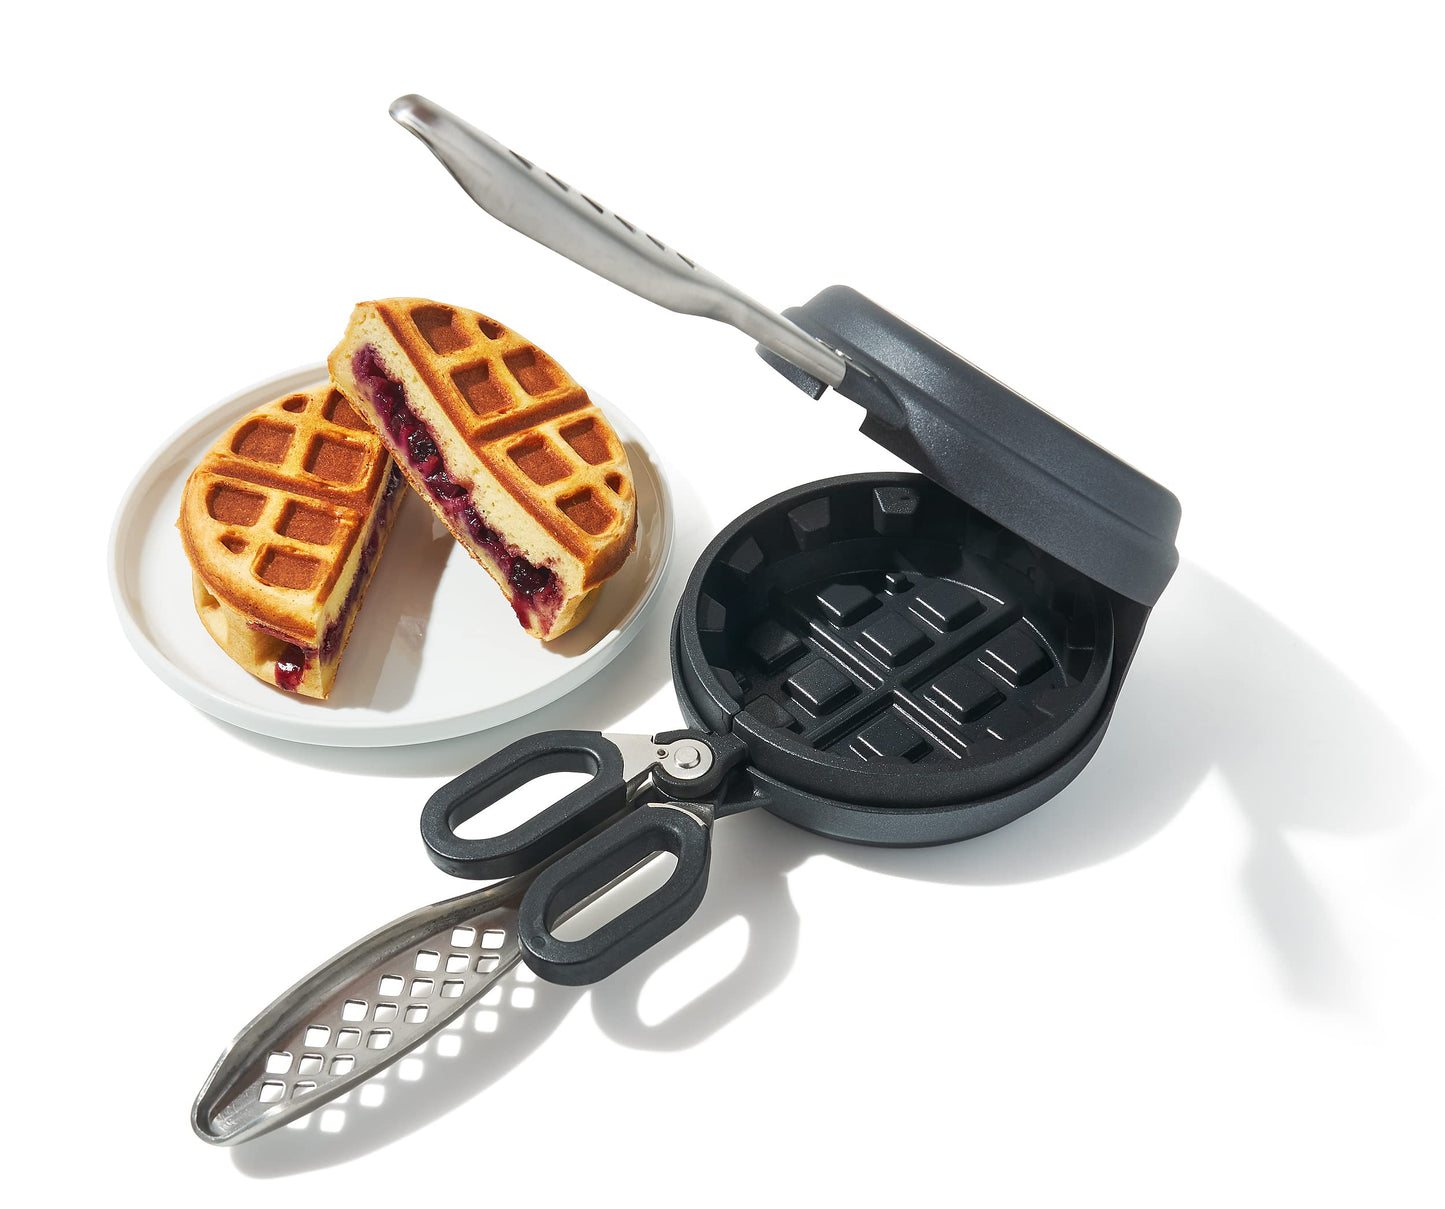
STEP 4: REMOVE
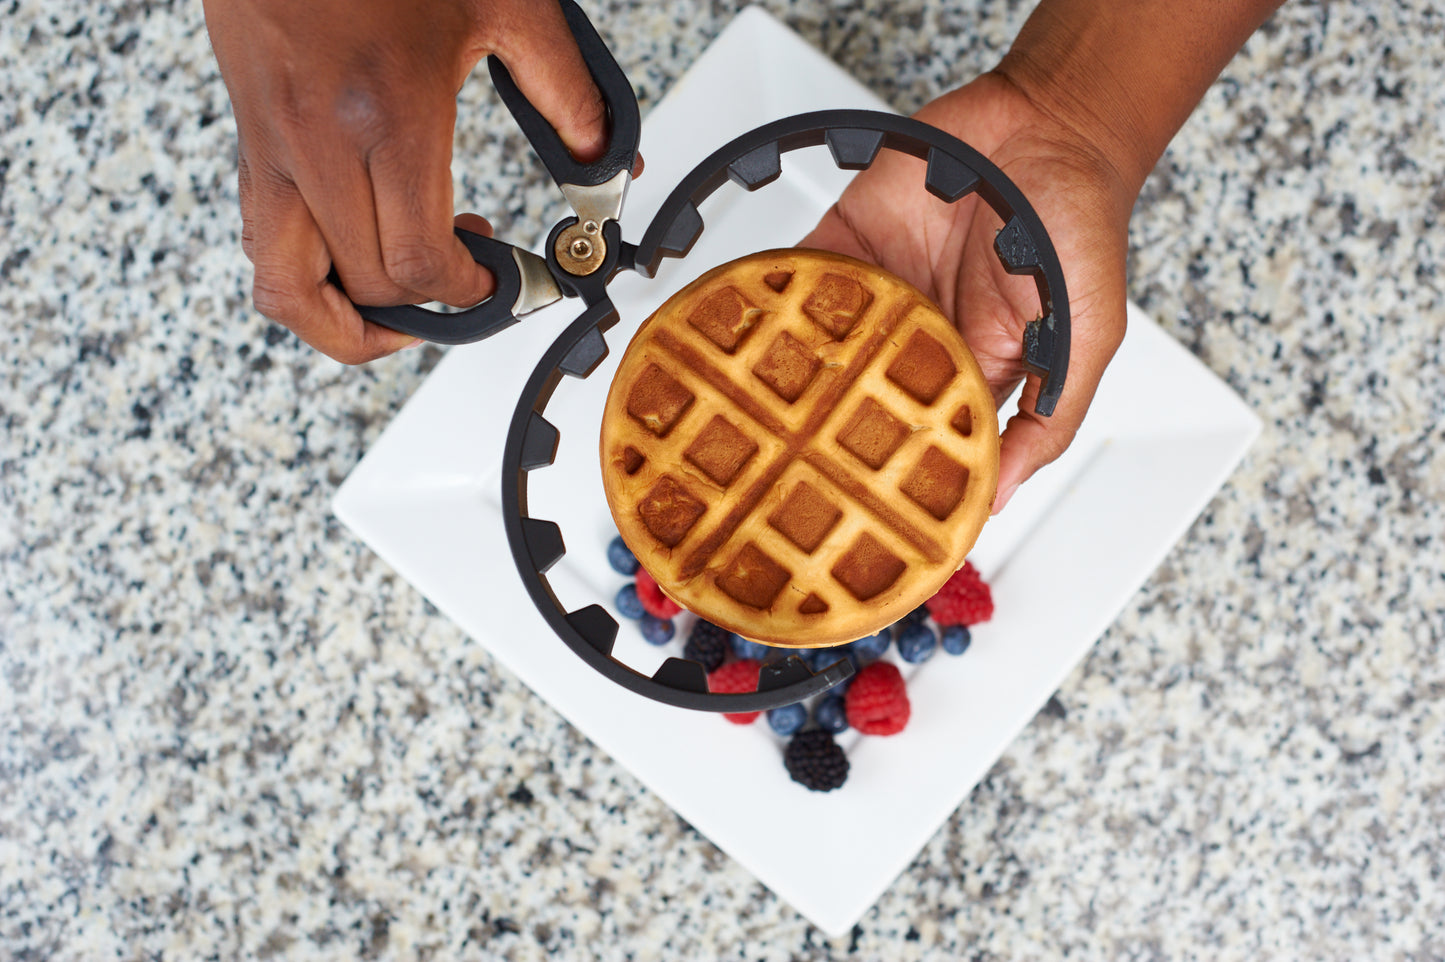
Remove the cooked stuffed waffle using the center pan finger loops to lift it from the bottom pan. Release the stuffed waffle from the center pan by separating the center loops in a similar motion as opening a pair of scissors.
Repeat steps 2 and 3 for additional stuffed waffles.
USEFUL TIPS
-
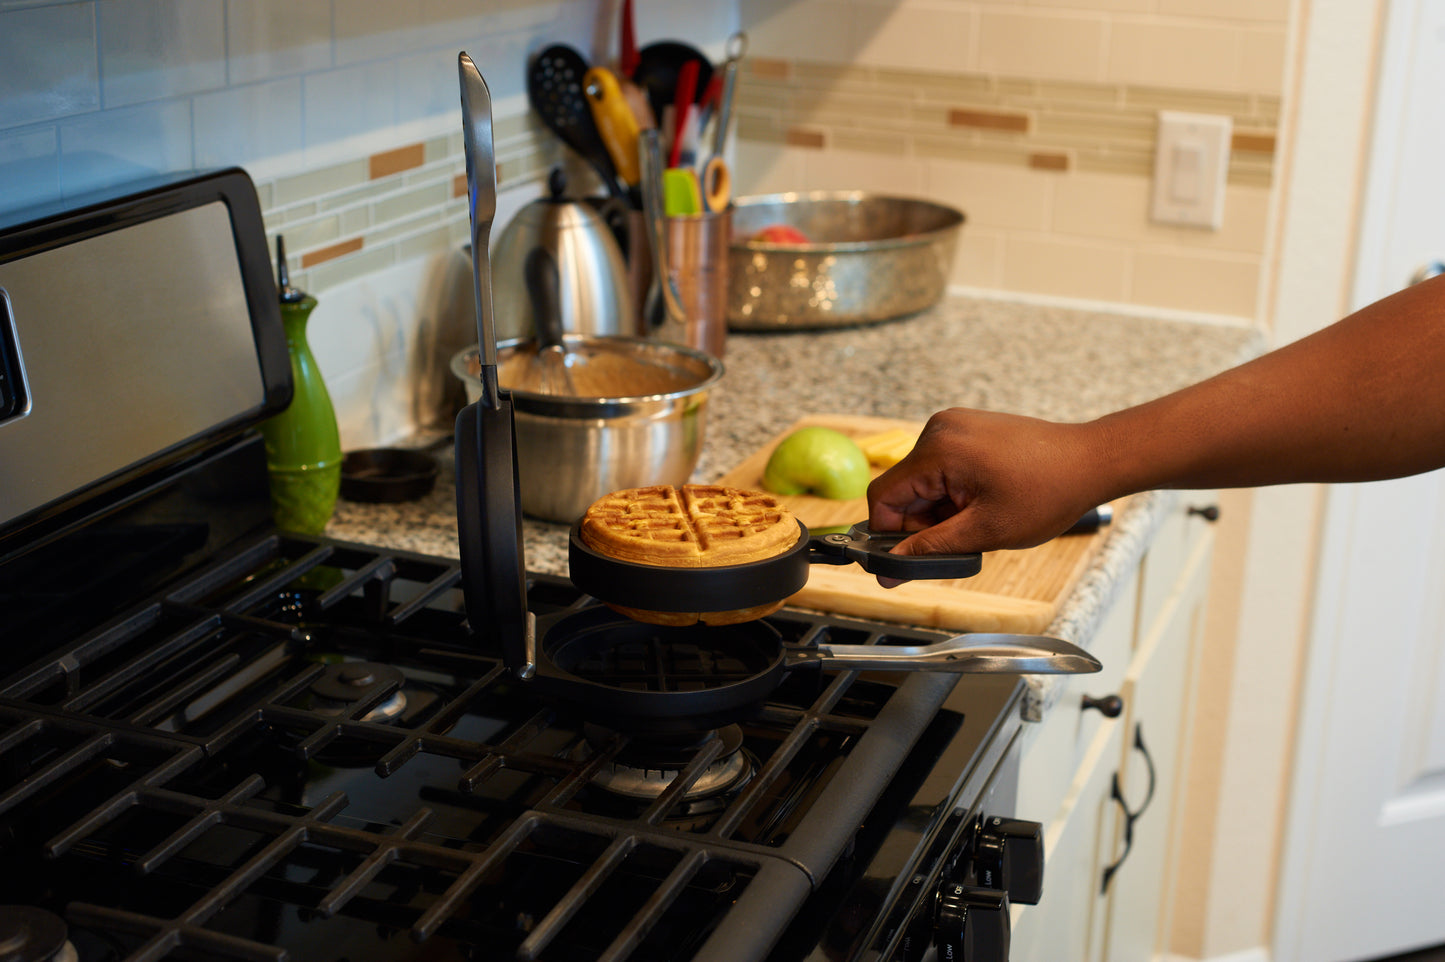
Both packaged waffle mix and homemade batter may be used. Since cooking times may vary with each recipe, visually inspect doneness while cooking by slightly lifting the top pan to open the unit (Fig. B).

- Use either cooking spray or cooking oil to grease the waffle grids. If using cooking oil, apply with a heat- resistant applicator such as a silicone basting brush.
- When using fillings with a runny texture, such as fruit pie fillings, it may be prudent to use no more than 3⁄4 cup so that the filling does not spill out of the stuffed waffle during baking.
- When using fillings with a runny texture, the batter poured into he bottom pan can be cooked a bit before adding the filling to prevent the filling mixing too much with the batter. Add filling when small bubbles begin to form in the batter.
- “Low and slow is the way to go” is a helpful maxim when baking a stuffed waffle. Because of its thickness, the stuffed waffle needs time to bake all the way through. If baked at too high a temperature, the outside may burn by the time the inside is baked through.
- Stuffed Waffles can be kept warm and crisp until serving by placing them in the oven at 250 °F (121 °C).
- Stuffed waffles can be kept in the freezer to be eaten later. Cool them to room temperature, wrap them in waxed paper, then store them in a resealable plastic freezer bag. When ready to serve, heat them in the oven at 350 °F (177 °C) for about 15 minutes or until thoroughly warmed. The amount of time they can be stored in the freezer varies based on recipe.
- The previous instructions can be used for baking stuffed waffles in the oven. Rather than preheating on the stovetop, preheat in the oven at 350 °F (177 °C) for about 15 minutes. Remove the unit from the oven, then grease and fill per instructions. Return to the oven and cook at 500 °F (260 °C) for about 10 minutes. Remove from the oven and release from the unit per instructions.
CARE, CLEANING, AND STORAGE
The Stuffed Waffle Iron is not dishwasher safe. After normal use, you can clean it by simply wiping it down with paper towel to remove excess grease or pieces of food. Warm running water and a small amount of soap dish can be used in cases where a more thorough cleaning is required.

Steel wool or other metal tools can be used to remove food stuck to the pans.

A bottle brush is another good option to clean between the indentions of the pans.

Thoroughly dry the Stuffed Waffle Iron after cleaning and store in a dry place to prevent oxidation.

Wonderffle
The Stuffed Waffle Iron


Wonderffle
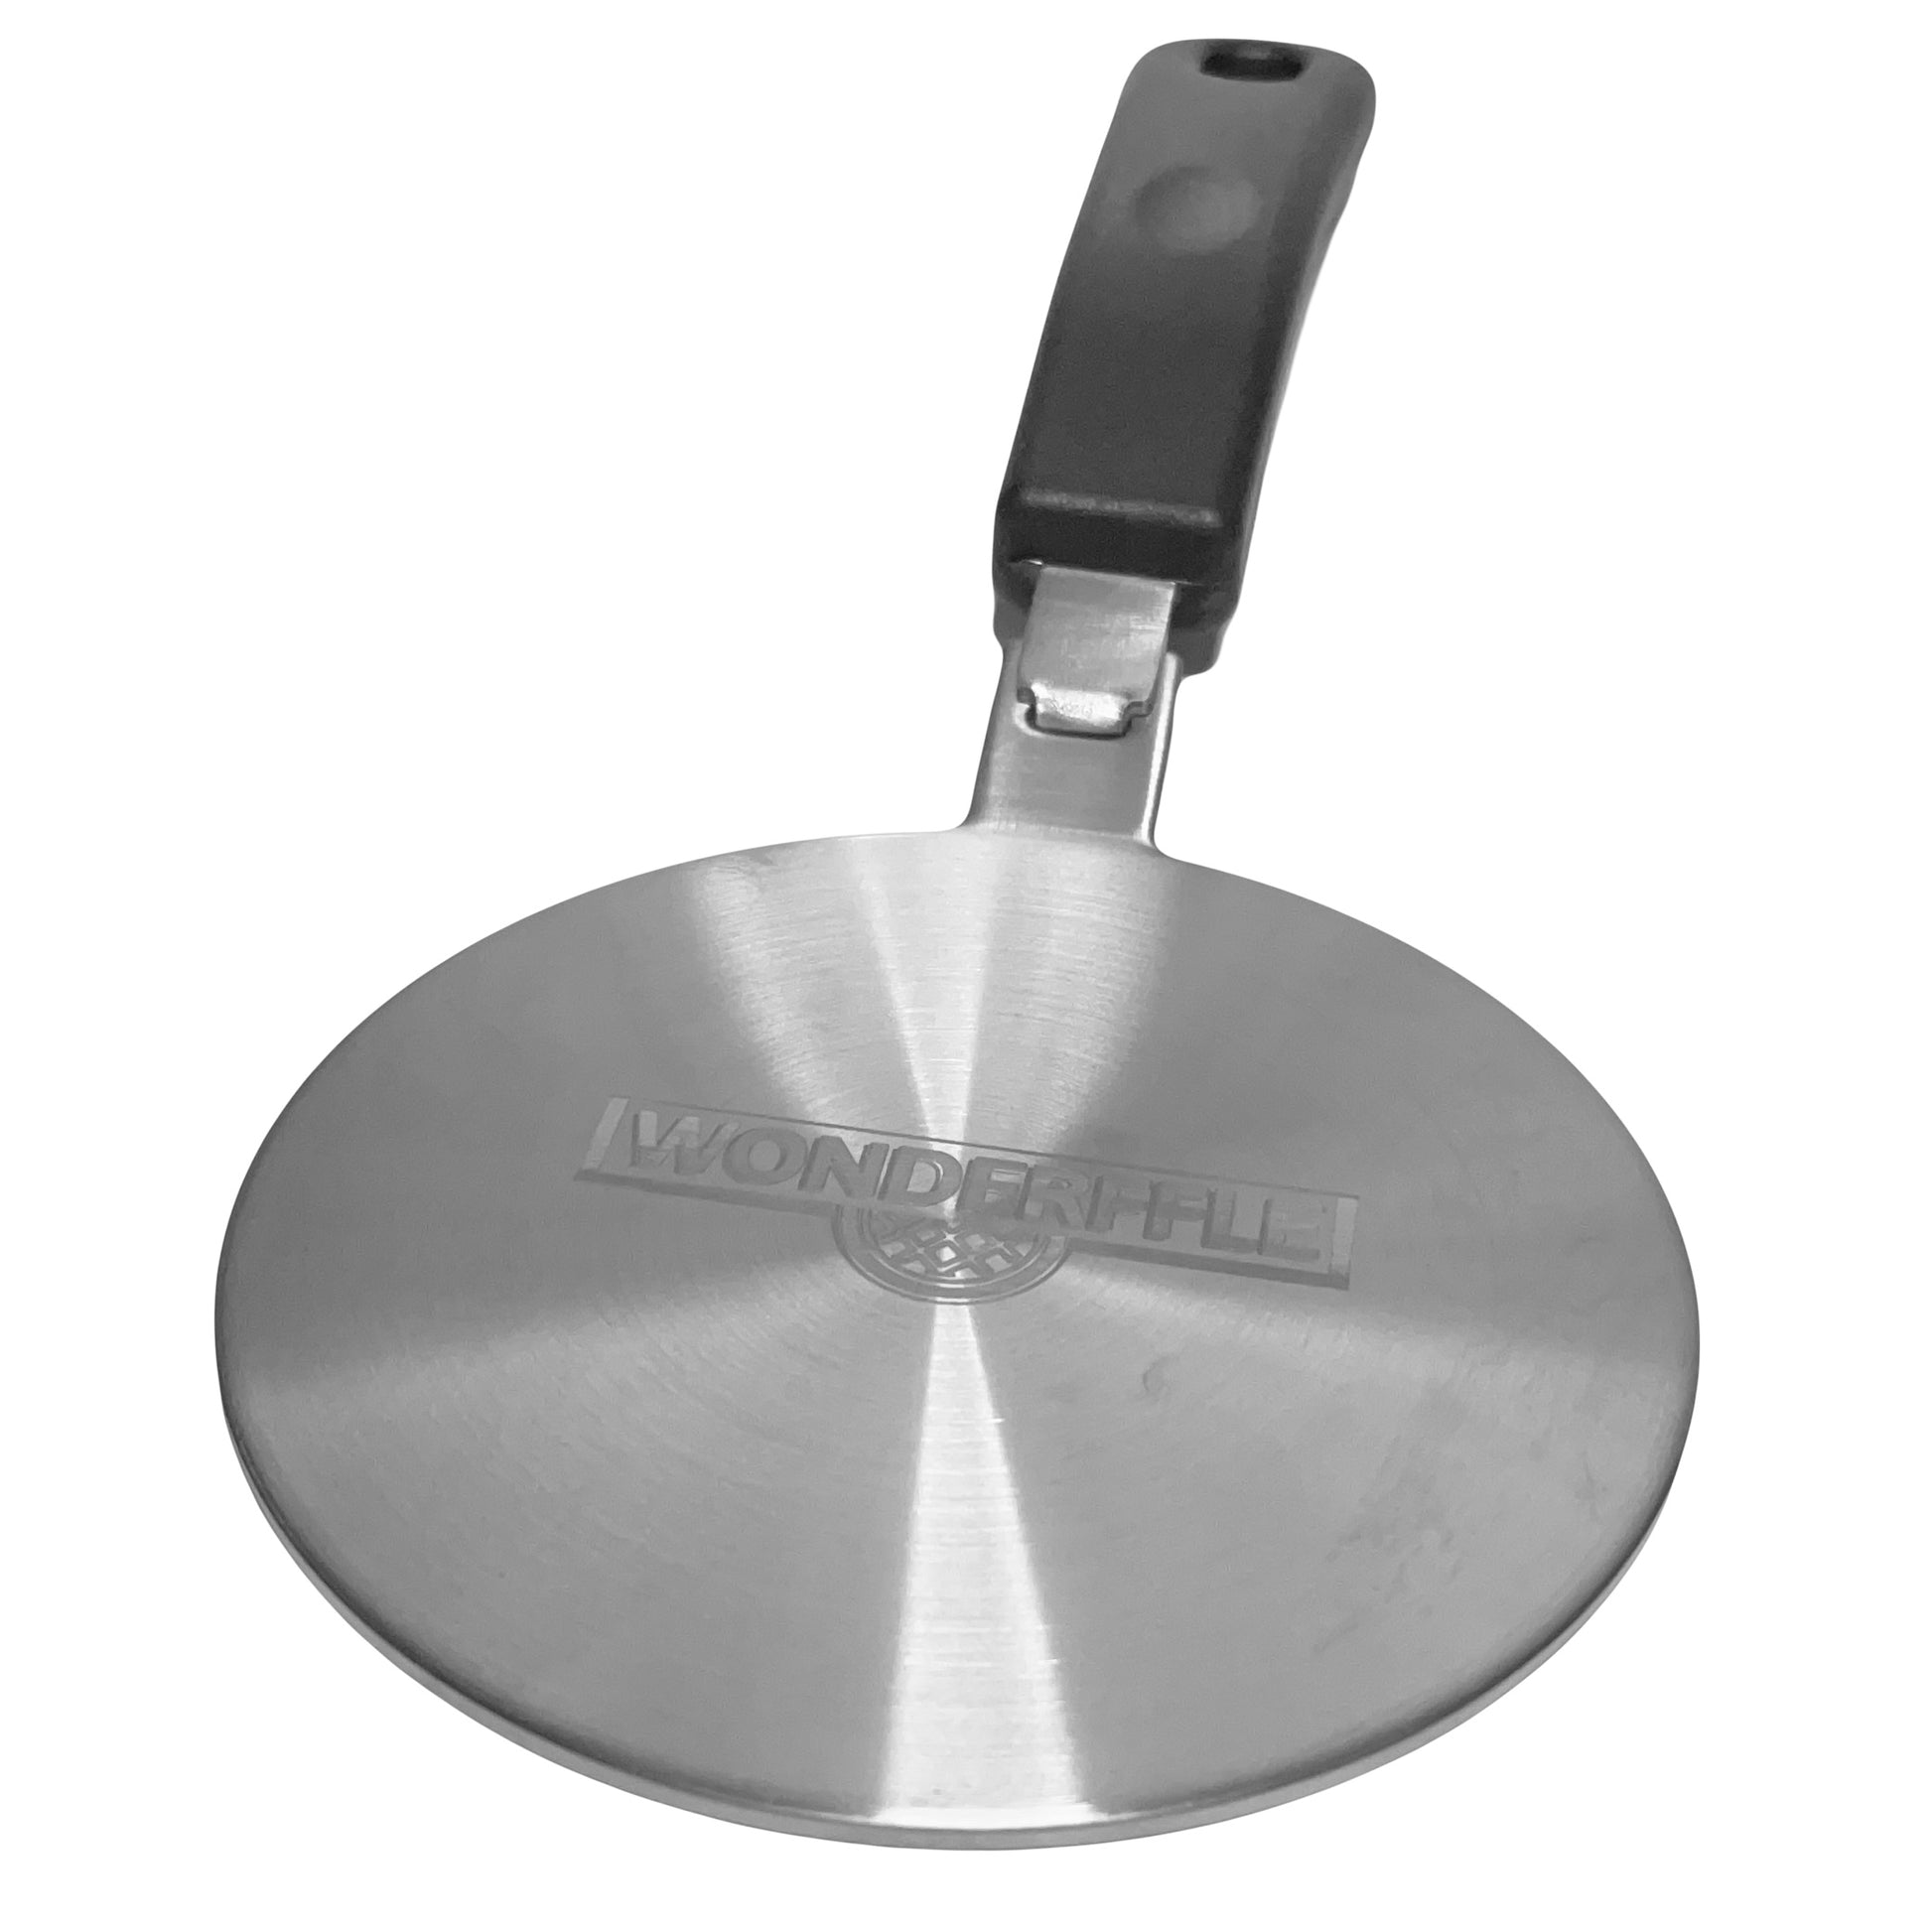
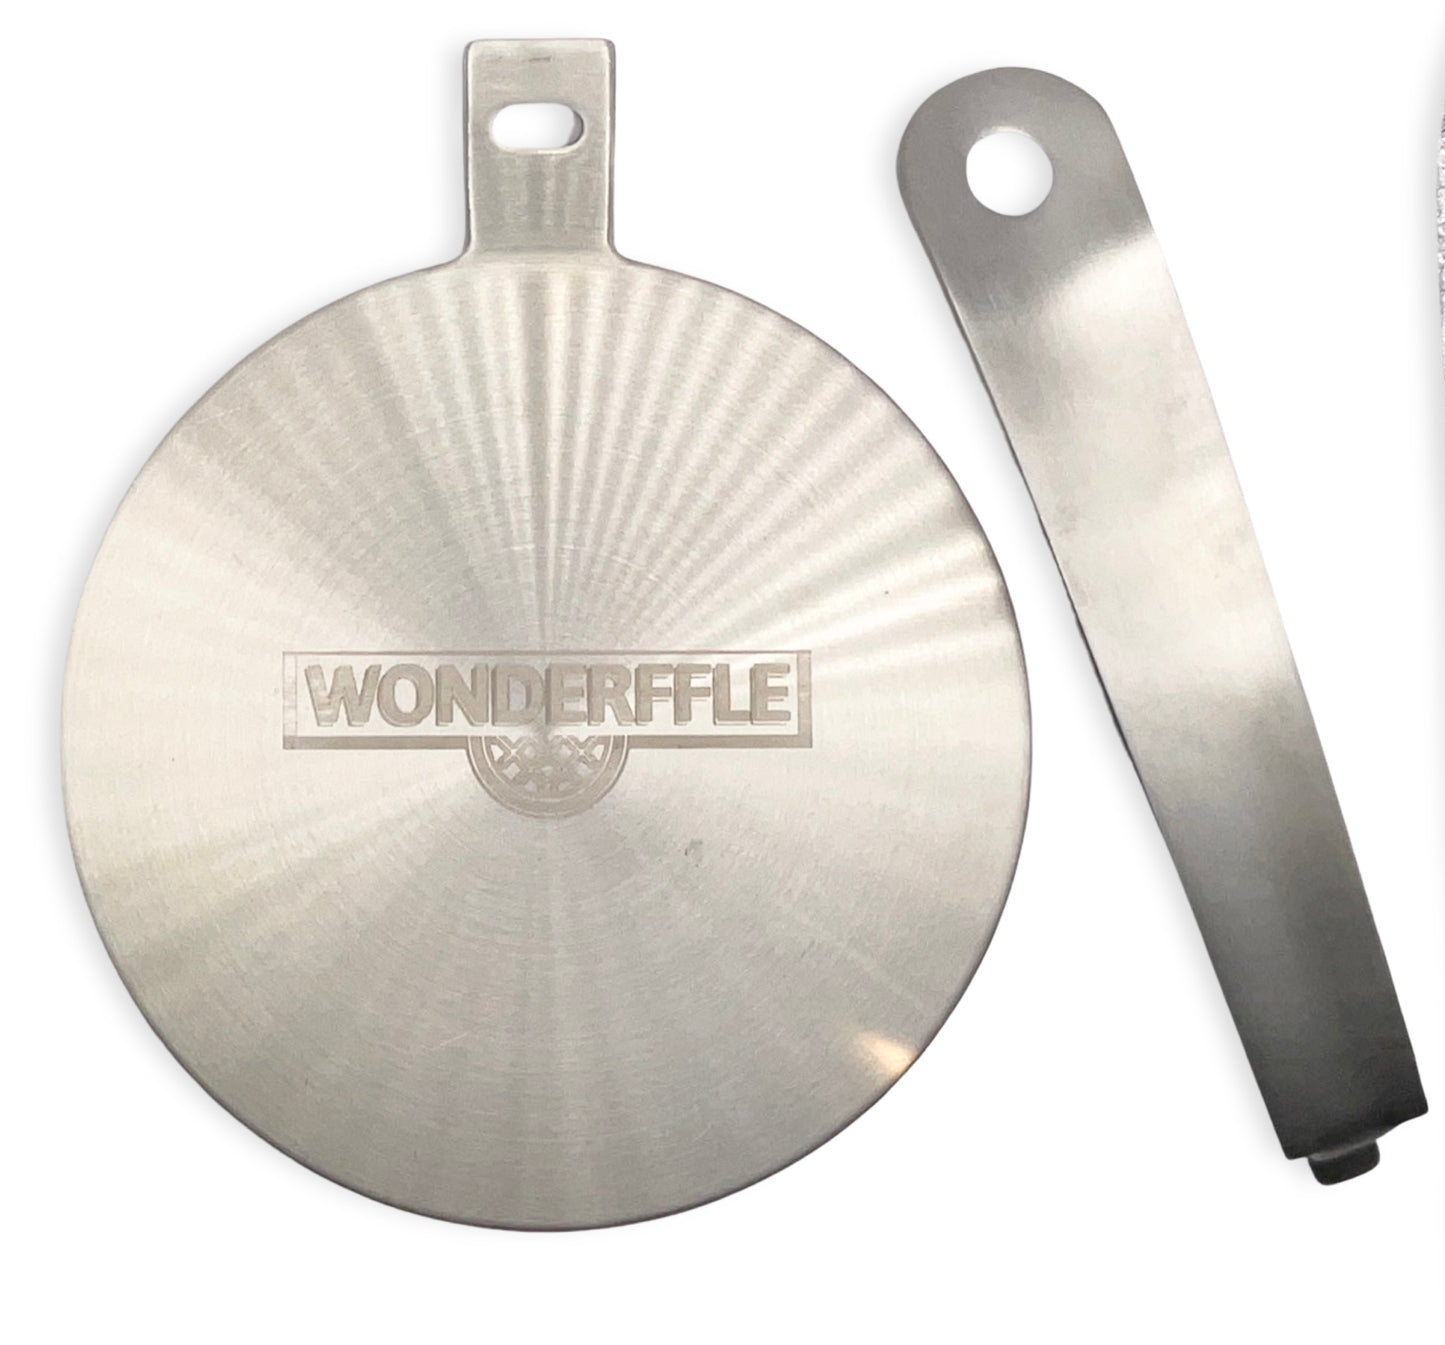
Induction Plate Adapter


Wonderffle
Cast Iron Stuffed Waffle Iron